
So, you finally pulled the trigger and got yourself some straps. High five! Whether you’re looking to get shredded in your living room, stay fit while traveling the world, or just want a workout that doesn’t involve a monthly gym membership and a locker room that smells like old socks, you’ve made a killer choice.
But I get it, staring at a pair of straps for the first time can feel a little bit like trying to solve a Rubik’s cube while wearing oven mitts. Where do you clip them? How do you stand? And most importantly, how do you make sure you don't end up face-planting on your carpet?
Relax, I've got you. This guide is your "day one" roadmap. We’re going to cover exactly what to do the moment you take your suspension fitness trainer out of the bag, how to pick the right gear if you haven't bought yours yet, and how to bang out your first workout without any of the guesswork.
Key Takeaways
- Safety First: Always test your anchor point before putting your full weight on the straps.
- Angle is Everything: In suspension fitness, your body angle determines the difficulty. Step closer to the anchor to make it harder; step away to make it easier.
- Keep it Simple: Start with the "Big 5" movements to build a foundation before trying the fancy stuff.
- Gear Matters: Choose the right NOSSK system for your lifestyle: the HOME trainer for portability or the Twin Pro for maximum versatility.
- Don't Ignore Your Grip: Use FlexEx to keep your hands and forearms as strong as your core.
Step 1: Meet the Family (Choosing Your Gear)
If you’re still in the "window shopping" phase, or if you're wondering which NOSSK system you actually have, let’s break it down. We don’t do one-size-fits-all here because everyone's fitness journey looks a little different.
- The NOSSK HOME Trainer: This is our most portable option. It’s the lightest and least bulky of the bunch, making it perfect for the digital nomad or the person who wants to tuck their gym into a drawer. Crucial detail: It comes with a built-in door anchor, so you can set it up in seconds in any room with a sturdy door.
- The RT-17 & TNT PRO: These are built like tanks for those who want to go hard. Note that these include dedicated door anchor attachments that you clip on, rather than being built into the strap itself. This gives you a bit more flexibility for different mounting options.
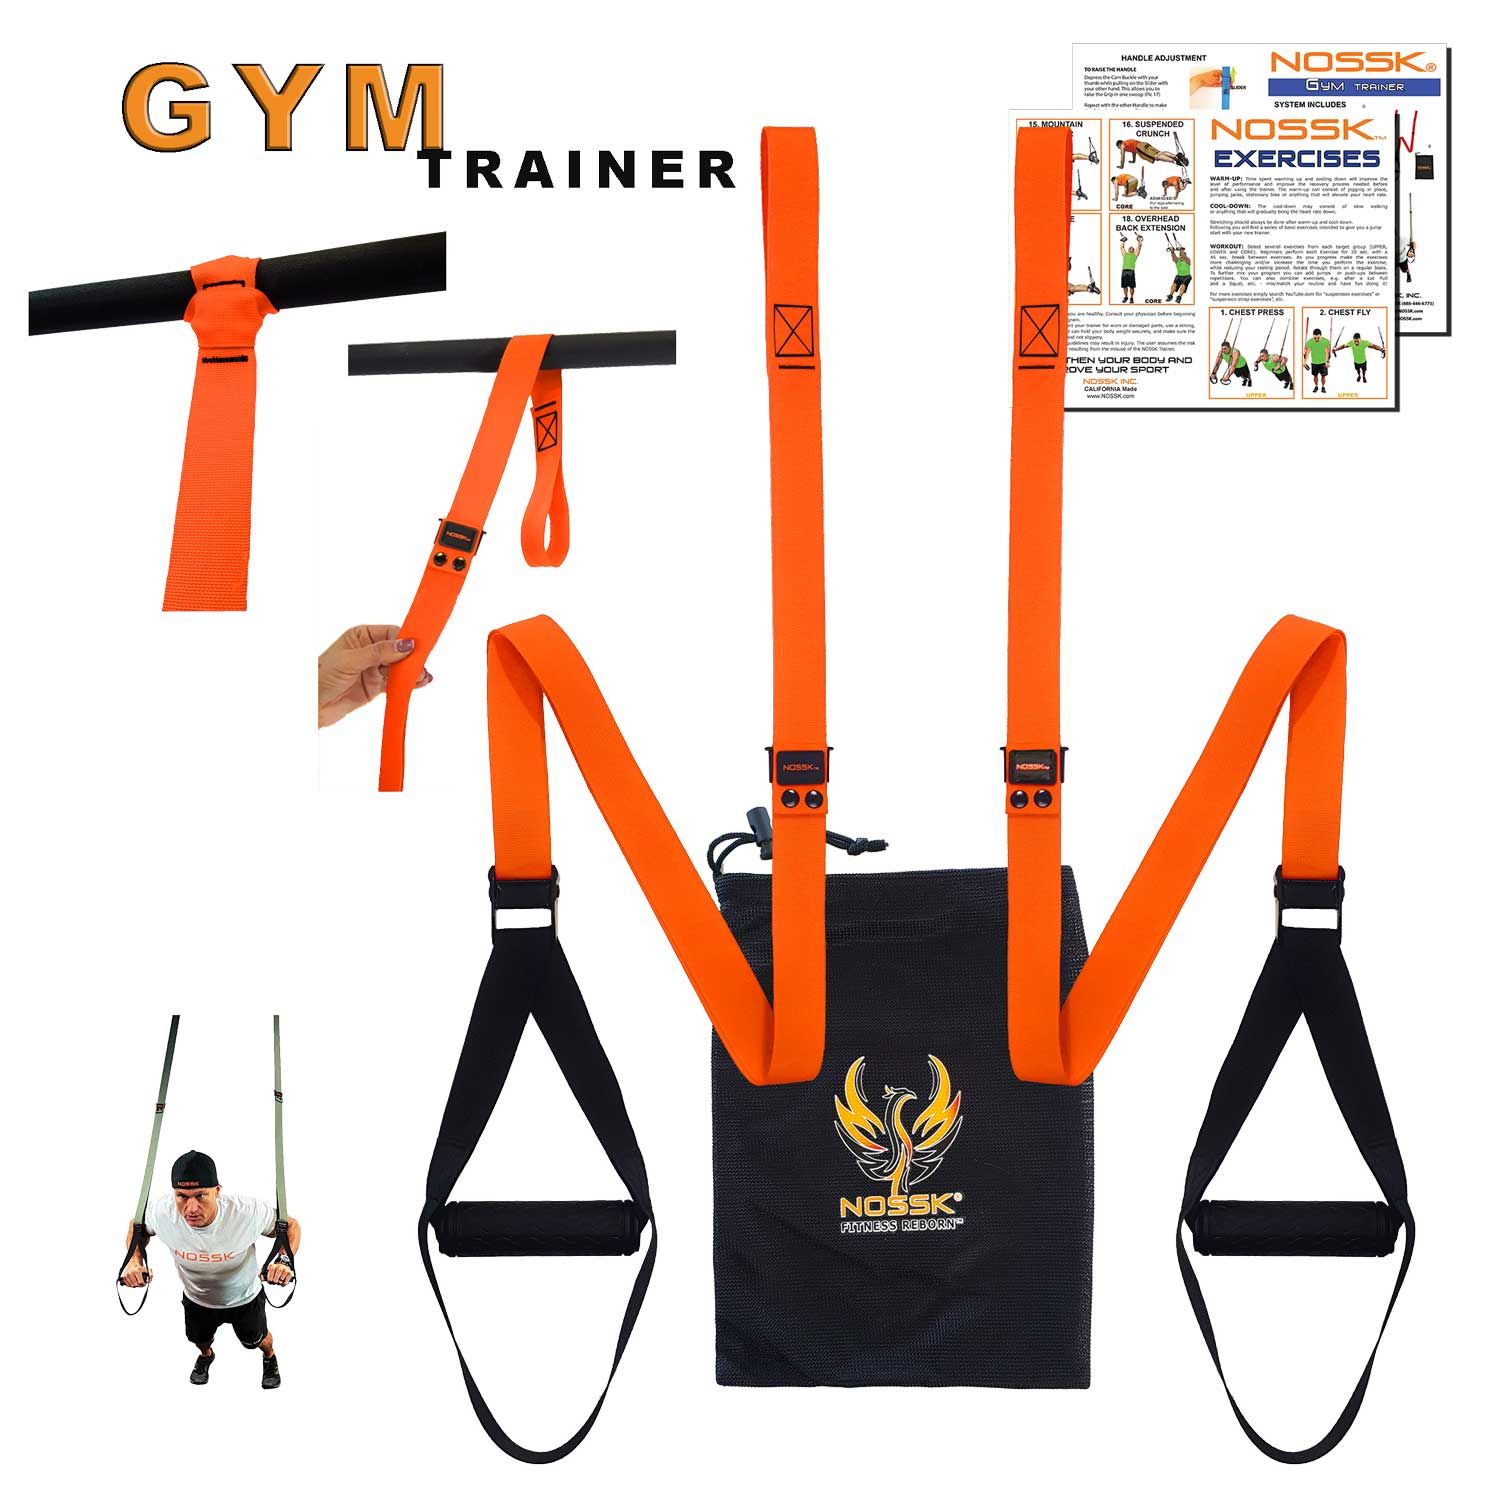
- The GYM PRO If you are looking for a Trainer to be used specifically in a GYM, (Professional Fitness Center or Home Gym), the GYM Pro is your best choice. Attaches on a bar or hooks on a wall in seconds. The soft loop on the strap will not mar the bar. The height of the Grips are easily adjusted with the 2 Cam Buckles. And, yes this trainer can also be used OUTDOORS on e.g. a tree branch or even on a vertical post.
- The Cyclone is is our heavy hitter. If you’re setting up a permanent home gym or want that "commercial grade" feel, of a trainer that will challenge your core and your entire body like no other this is your best friends.
- The Twin Pro: This is our dual-strap system. Instead of one single anchor point, you have two independent straps. This is amazing for wide-grip exercises and is a favorite for outdoor setups where you might be anchoring to a thick tree branch or a playground bar.
Step 2: The Perfect Setup (Don't Skip This!)
You can have the best suspension fitness straps in the world, but if you hook them to a flimsy towel rack, things are going to end poorly. Trust me, I've seen the "fail" videos.
The Door Setup
Most people start at home using a door.
- Find a sturdy door: Always try to work on the side of the door that opens away from you. This way, your body weight is pulling the door into the frame, not against the latch.
- Center it: Place your door anchor (whether built-in like the HOME trainer or the attachment for the RT-17) over the top of the door, right in the center.
- The Tug Test: Close the door, lock it (so a family member doesn't accidentally walk in and send you flying), and give the straps a massive tug. If it holds, you’re golden.
The Bar or Tree Setup
If you’re heading outside or have a pull-up bar:
- Wrap it: Loop the straps around the bar or branch.
- Check the height: You want the handles to hang about mid-calf height when you’re standing straight. This is the "sweet spot" for most exercises.

Step 3: Understanding the "Physics of Fitness"
One of the coolest things about suspension fitness is that you never have to go hunting for a heavier dumbbell. You are the weight.
To change how heavy a movement feels, you just change your body angle.
- The Vector Principle: Fancy way of saying: the more "horizontal" your body is, the harder the exercise. If you’re doing a row and you’re standing almost upright, it’s going to be easy. If you walk your feet forward so you’re looking up at the ceiling, you’re going to feel that "spicy" burn real quick.
- The Stability Factor: The narrower your stance, the harder your core has to work. Want to make a plank more challenging? Put your feet together. Need more balance? Move them wider.
Step 4: Your "Day One" Workout (The Big 5)
Don't worry about those crazy acrobatic moves you see on Instagram. We need to build your foundation first. Perform this circuit 2-3 times, resting about 60 seconds between moves.
1. The Assisted Squat
Why: It’s the king of leg moves.
- Face the anchor, hold the handles with your elbows bent by your sides.
- Sit back like you’re sitting in an invisible chair.
- Use the straps for balance, but try not to "pull" yourself up with your arms. Let your legs do the work!
- Aim for: 12-15 reps.
2. The Suspended Row
Why: This builds a strong back and fixes that "hunched over a computer" posture.
- Face the anchor, lean back with arms straight.
- Pull your chest up to the handles, keeping your body as stiff as a board.
- Pro tip: Don't let your hips sag! Squeeze those glutes.
- Aim for: 10-12 reps.
3. The Chest Press
Why: Like a push-up, but better because it engages your core like crazy.
- Face away from the anchor.
- Hold the handles in front of you and lean forward.
- Lower your chest toward your hands, then push back up.
- Aim for: 10-12 reps.
4. The Assisted Lunge
Why: Builds single-leg strength and stability.
- Face the anchor, handles in hand.
- Step one foot back and drop your knee toward the floor.
- Push back to standing.
- Aim for: 8 reps per leg.
5. The Suspended Plank
Why: Because traditional planks are boring, and this gets your core screaming in half the time.
- You can do this holding the handles or putting your feet in the foot loops.
- Keep your back flat: no "piking" your butt in the air!
- Aim for: Hold for 30 seconds.
Step 5: Don't Forget Your "Hooks" (Grip & Forearm Health)
When you start suspension fitness, your hands are doing a lot of work. You’re gripping those lay-flat handles for almost every move. It’s common for beginners to feel their grip give out before their muscles do.
That’s where FlexEx comes in. Honestly, it’s the secret weapon of the NOSSK community. It’s a simple, portable hand exerciser that balances out all that "squeezing" you do on the straps by working the extensor muscles in your fingers.
Using FlexEx while you’re watching TV or sitting in a meeting will not only improve your grip strength for the straps but also prevent the kind of RSI (Repetitive Strain Injury) that comes from too much typing or gaming. Check out the hand exerciser collection to see what I mean.

Step 6: Common Newbie Mistakes to Avoid
- The "Saggy Hips" Syndrome: Whether you're rowing or pressing, your body should be a straight line from ears to ankles. If your butt is sticking out or your hips are dipping, you’re losing the core benefit.
- Going Too Steep Too Fast: I know you want to look like a pro, but if your form breaks down after two reps because your angle is too steep, you aren't doing yourself any favors. Form over ego, always.
- Holding Your Breath: It sounds silly, but people forget! Breathe out on the "hard" part of the move.
Ready to Get Spicy?
Getting started with suspension fitness is honestly one of the best things you can do for your long-term health. It’s functional, it’s fun, and it grows with you. You’re not just lifting weights; you’re learning how to move your body through space.
If you ever feel stuck or aren't sure if your form is right, come back and check out our blog news section for more tips. We’ve got deep dives on progressive overload and even how to stay fit while traveling.
Now, go clear a space on your floor, hook up those straps, and get after it. Your future, stronger self is already thanking you.
See you on the straps!